ReviewCoreASPHosting.NET | Best and cheap ASP.NET Core 2.0 hosting. In this post I want to focus in on a few changes to the basic structure of ASP.NET Core 2.0 applications which simplify the code needed to get started. Before looking at those elements, I felt it would be worth sharing the steps I took to get started with ASP.NET Core 2.0 Preview 1 on my development machine.
Getting started with ASP.NET Core 2.0 preview 1
The first step was to get the preview SDK for .NET Core 2.0 which can be safely installed alongside any prior 1.x SDK versions. The announcement post provides a link to download the SDK.
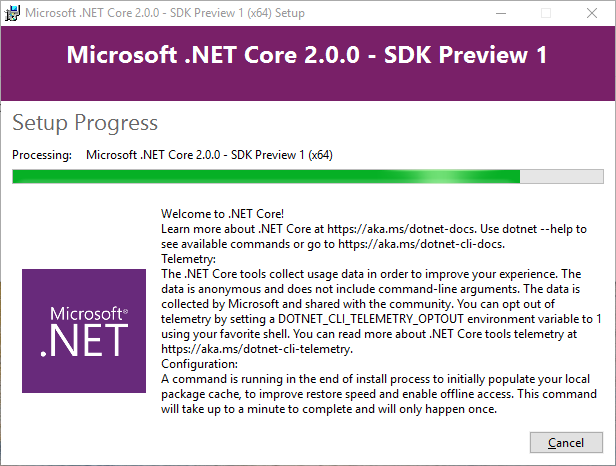
The next step was to install the SDK. Nice and easy!

Initially I tried creating a project in the existing Visual Studio 2017 IDE. I did so by starting with an ASP.NET Core 1.1 project and simply updating it to target netcoreapp2.0 and the latest ASP.NET Core 2.0 packages. However, this was problematic since I couldn’t restore or build the solution inside Visual Studio. I did manage to do both of those tasks at the command line level using dotnet restore and dotnet build. Finally, running dotnet run I was up and running with a small sample API site.
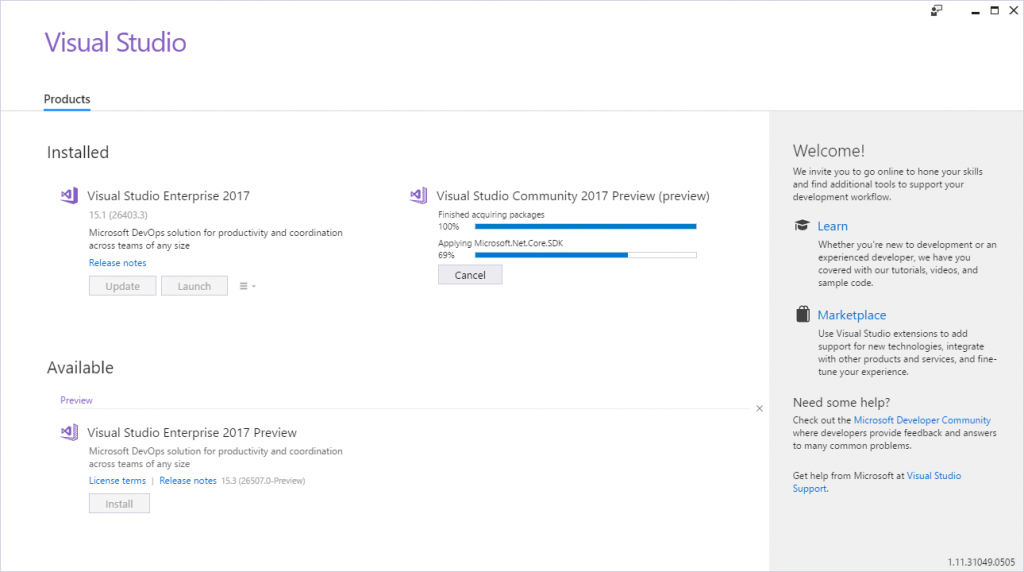
After querying the lack of Visual Studio support on Twitter, Damian Edwards confirmed that I would need to use the preview version of Visual Studio 2017 in order to work with ASP.NET 2.0 preview projects. So I went off to download and then install it. According to their website this is safe to install side-by-side with other versions. If you want to follow along, download Visual Studio 2017 preview from here.

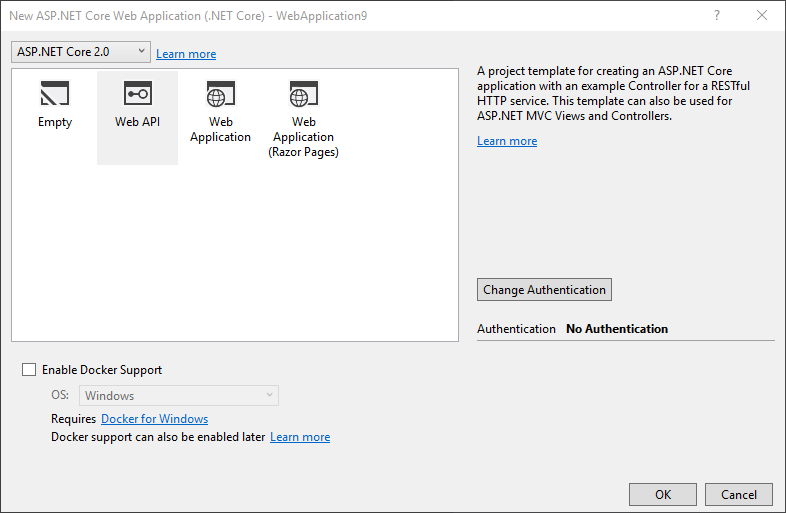
Now that I had VS 2017 preview installed on my machine I decided to start fresh and try creating a new project directly inside the IDE. The new project dialog for an ASP.NET Core web project has been updated so I could simply choose to target that from the UI.

After a few moments I was up and running, working on a new ASP.NET 2.0 web application. A very painless experience so well done and thanks to the team for the work they’ve done to get us started on this preview release.
A Quick Tour of ASP.NET Core 2.0 preview 1
Now that I have a default ASP.NET Core 2.0 project on my machine, I want to highlight a few of the initial changes that you’ll see.
Simplified CSPROJ
After the move back to csproj that came with Visual Studio 2017, the new structure for these project files has been a great improvement on the past. Gone are the ugly GUIDs and the requirement to specify all files. With this release, the team have simplified things a step further.
In the mainstream Visual Studio 2017 release, targeting ASP.NET Core 1.1 a default csproj file looks like this:
<Project Sdk="Microsoft.NET.Sdk.Web">

  <PropertyGroup>
    <TargetFramework>netcoreapp1.1</TargetFramework>
  </PropertyGroup>

  <ItemGroup>
    <Folder Include="wwwroot\" />
  </ItemGroup>
  <ItemGroup>
    <PackageReference Include="Microsoft.ApplicationInsights.AspNetCore" Version="2.0.0" />
    <PackageReference Include="Microsoft.AspNetCore" Version="1.1.1" />
    <PackageReference Include="Microsoft.AspNetCore.Mvc" Version="1.1.2" />
    <PackageReference Include="Microsoft.Extensions.Logging.Debug" Version="1.1.1" />
  </ItemGroup>
  <ItemGroup>
    <DotNetCliToolReference Include="Microsoft.VisualStudio.Web.CodeGeneration.Tools" Version="1.0.0" />
  </ItemGroup>

</Project>
In the latest version, we now have a single meta-package we reference to bring in all of the ASP.NET Core packages. This reduces a default csproj to just these few lines:
<Project Sdk="Microsoft.NET.Sdk.Web">

  <PropertyGroup>
    <TargetFramework>netcoreapp2.0</TargetFramework>
    <UserSecretsId>aspnet-WebApplication9-002383F6-D807-41EE-ABB1-CB04D3657FFC</UserSecretsId>
  </PropertyGroup>

  <ItemGroup>
    <Folder Include="wwwroot\" />
  </ItemGroup>

  <ItemGroup>
    <PackageReference Include="Microsoft.AspNetCore.All" Version="2.0.0-preview1-final" />
  </ItemGroup>

  <ItemGroup>
    <DotNetCliToolReference Include="Microsoft.VisualStudio.Web.CodeGeneration.Tools" Version="2.0.0-preview1-final" />
  </ItemGroup>

</Project>
At first this concerned me a little. A key message behind the original ASP.NET Core release, was a “pay to play” model. You could specify only the packages you actually needed in your application, no longer bringing a dependency on a whole monolith framework. You could bring each version of each component that you actually used. This also resulted in a smaller footprint for your published application. My first impression was that we were taking a bit of a step back by instead referencing a single master package.
However after reading the announcement and chatting on Twitter, the consensus seems to be that this is not a problem. The SDK ships with the packages included with it, so you are never pulling these from NuGet directly. That had been a concern for me since at work we build our projects inside Docker containers. If each new build needed to pull all of the packages, even those we didn’t need, across the Internet, it could slow down our builds.
However, since they are local with the SDK, this is not a problem. Then I had a concern about a large deployment when you publish your application, including binaries that my application doesn’t even use. This also seems to be solved, as Microsoft now have a package trimming feature that they explain will exclude the binaries you are not using for your publish output. What remains to be seen is how the base packages can version truly independently since the meta package will define specific versions it depends on. When you depend on a version of AspNetCore.All you depend on the versions it defines. It seems that this might now require a new SDK release each time the underlying packages change so that you can work with a new version of the meta-package, while still having the packages locally.
Generally though, this new simplified file should make it very easy for people working outside of VS 2017 to get up and running with a hand coded project file if they so wish.
Another change you’ll notice is that the TargetFramework is now netcoreapp2.0 which defines that this project will run on .NET Core 2.0.
Simplified Program.cs
Next up, program CS got some refinement. To compare, in an ASP.NET Core 1.1 application, the class looks like this:
public class Program
{
    public static void Main(string[] args)
    {
        var host = new WebHostBuilder()
            .UseKestrel()
            .UseContentRoot(Directory.GetCurrentDirectory())
            .UseIISIntegration()
            .UseStartup<Startup>()
            .UseApplicationInsights()
            .Build();

        host.Run();
    }
}
Now in 2.0 it looks like this:
public class Program
{
    public static void Main(string[] args)
    {
        BuildWebHost(args).Run();
    }

    public static IWebHost BuildWebHost(string[] args) =>
        WebHost.CreateDefaultBuilder(args)
            .UseStartup<Startup>()
            .Build();
}
This revised version utilises a C#6 syntax to build an expression body method called BuildWebHost. This method uses a new static method WebHost.CreateDefaultBuilder. This method provides a shortcut to get an IWebHostBuilder. Behind the scenes, this method will do a few things for us, saving a few lines of code. As per the source documentation, it will:
- Use Kestrel as the web server
- Set the ContentRootPath
- Load configuration from the default locations such as appsettings.json, user secrets and the environment variables. Note that configuration used to be defined inside the constructor of the Startup.cs file
- Configure the ILoggerFactory to log to console and debug. This also used to be inside Startup.cs, often defined in the Configure method
- Enables IISIntegration
- Add the developer exception page when in the development environment
If you want to look at the full source for the WebHost class, which lives inside the MetaPackages repository, you can take a look at the code up on GitHub.
Simplified Startup.cs
Startup.cs has also been simplified, mostly as a result of moving the logging and configuration code into the WebHost builder.
Previously a default ASP.NET Core 1.1 project would look like this:
public class Startup
{
    public Startup(IHostingEnvironment env)
    {
        var builder = new ConfigurationBuilder()
            .SetBasePath(env.ContentRootPath)
            .AddJsonFile("appsettings.json", optional: false, reloadOnChange: true)
            .AddJsonFile($"appsettings.{env.EnvironmentName}.json", optional: true)
            .AddEnvironmentVariables();
        Configuration = builder.Build();
    }

    public IConfigurationRoot Configuration { get; }

    // This method gets called by the runtime. Use this method to add services to the container.
    public void ConfigureServices(IServiceCollection services)
    {
        // Add framework services.
        services.AddMvc();
    }

    // This method gets called by the runtime. Use this method to configure the HTTP request pipeline.
    public void Configure(IApplicationBuilder app, IHostingEnvironment env, ILoggerFactory loggerFactory)
    {
        loggerFactory.AddConsole(Configuration.GetSection("Logging"));
        loggerFactory.AddDebug();

        app.UseMvc();
    }
}
Now it looks like this:
public class Startup
{
    public Startup(IConfiguration configuration)
    {
        Configuration = configuration;
    }

    public IConfiguration Configuration { get; }

    // This method gets called by the runtime. Use this method to add services to the container.
    public void ConfigureServices(IServiceCollection services)
    {
        services.AddMvc();
    }

    // This method gets called by the runtime. Use this method to configure the HTTP request pipeline.
    public void Configure(IApplicationBuilder app, IHostingEnvironment env, ILoggerFactory loggerFactory)
    {
        app.UseMvc();
    }
}
The constructor no longer takes an injected IHostingEnvironment, instead taking the IConfiguration dependency. With configuration sources already defined the constructor just sets the Configuration properly so we can access it when needed.
ConfigureServices is unchanged, but Configure is slightly shorter since it no longer has to define the logging.
Summary
There you have it. A quick tour of the basic structural changes you can expect when you start working with ASP.NET Core 2.0. I’m pretty happy with the changes. My initial concerns around the AspNetCore.All package are hopefully unfounded and the shifting of logging and configuration into extensions on IWebHostBuilder makes sense. The startup file is nice and clean by default and pretty much all code we add will be specifically to include services we require and to setup our pipeline.
