ReviewCoreASPHosting.NET | Best and cheap ASP.NET Core 1.1 hosting. in this post I am going to discuss the publishing and deployment process of a .NET Core 1.0 website on IIS.
Getting the required files for hosting on IIS
- First thing we need to make sure that we are including all required folders in our publish. If you have your application using the blank .NET Core template then go to project.json. You will see settings for publish options like below
    "publishOptions": {
        "include": [
          "wwwroot",
          "web.config"
        ]
      }
- Replace the above publish options with the following
    "publishOptions": {
        "include": [
          "wwwroot",
          "Views",
          "Areas/**/Views",
          "appsettings.json",
          "web.config"
        ]
      }
- Please note that you need to include the your .json files with correct name. So our necessary folders are now included for publishing.
- Now the next step is to publish the website. Please follow the screenshots along with instructions

- Go to your application under src folder.
- Right click and select Publish option.
- Now the publish box opens up.
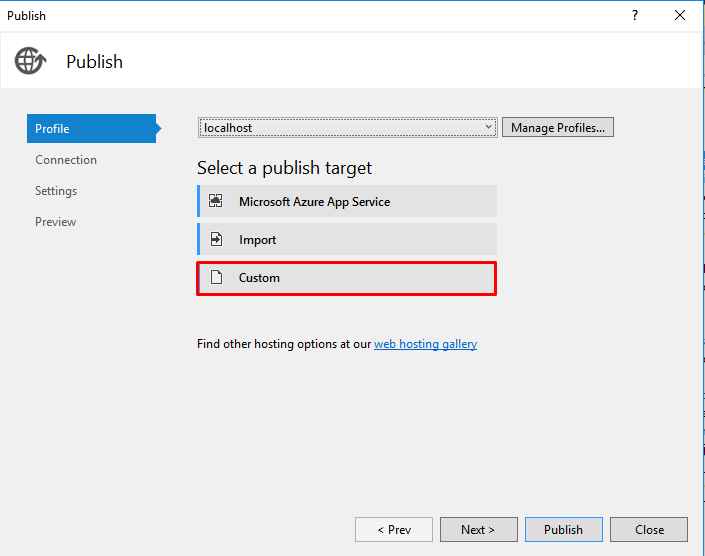
- Select the custom option.
- Add profile name as localhost(you can give anything you like)

- After profile is added you will be given screen for selecting Publishing Method and location where published files should be placed.

- Click next and you will get to settings screen of publish window

- Make sure you select the configuration as Release
- Make sure to check the checkbox for Delete all existing files prior to publish(This will make sure that files in publish folder will just be for our application)
- Now click on Publish. VS will publish the required files in the selected folder and you will see the following message on output window of Visual Studio
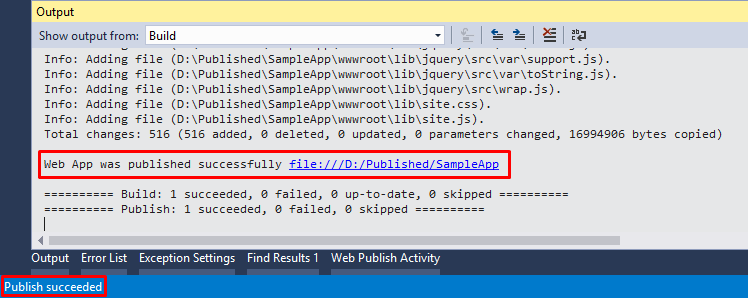
Now as our files are published let’s do setting for IIS.
If you haven’t configured IIS on your machine yet. Please follow the steps Configure IIS.
- Install the Windows Server Hosting bundle on the server. The bundle will install the .NET Core Runtime, .NET Core Library, and the ASP.NET Core Module. The module creates the reverse-proxy between IIS and the Kestrel server.
- Execute iisreset at the command line(start as administrator) or restart the server to pickup changes to the system PATH.
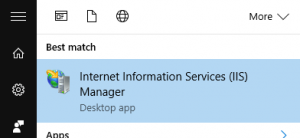
- Open IIS Manager
Copy the published files to the following location
C:\inetpub\wwwroot
- Create a new folder and copy all the files from the published location to this folder.
- When you click on Add Website, do the following settings

- Give your website a name
- Give physical path to the files where you have copied.
- Change the port 80 to another port that is not in use.
- Click OK
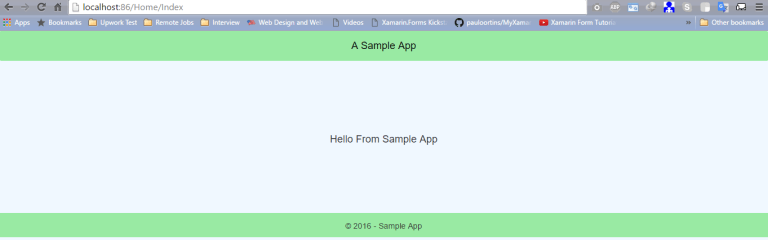
- Now let’s run the application. Select the website added and on the right side you will see to browse the website. Click on browse and website will be launched in your default browser.

Our website is ready 🙂